Hey! A few days ago ,we decided to make an Anemometer. So we met in the Woodlands Regional Library to do it. Here are the pictures of us making the Anemometer !
Meena taking out the things that we needed to make the Anemometer
Dini looking for Information on the Internet...
Time to make the Anemometer !!
But first , The things you will need ...
- 5 plastic cups (3 oz.)
- Hole puncher
- 2 plastic straws
- Stapler
- Scissors
- Pencil (non-mechanical, with intact eraser)
- Push pin
- Ruler
Now , we start making it !!!
Step 1:
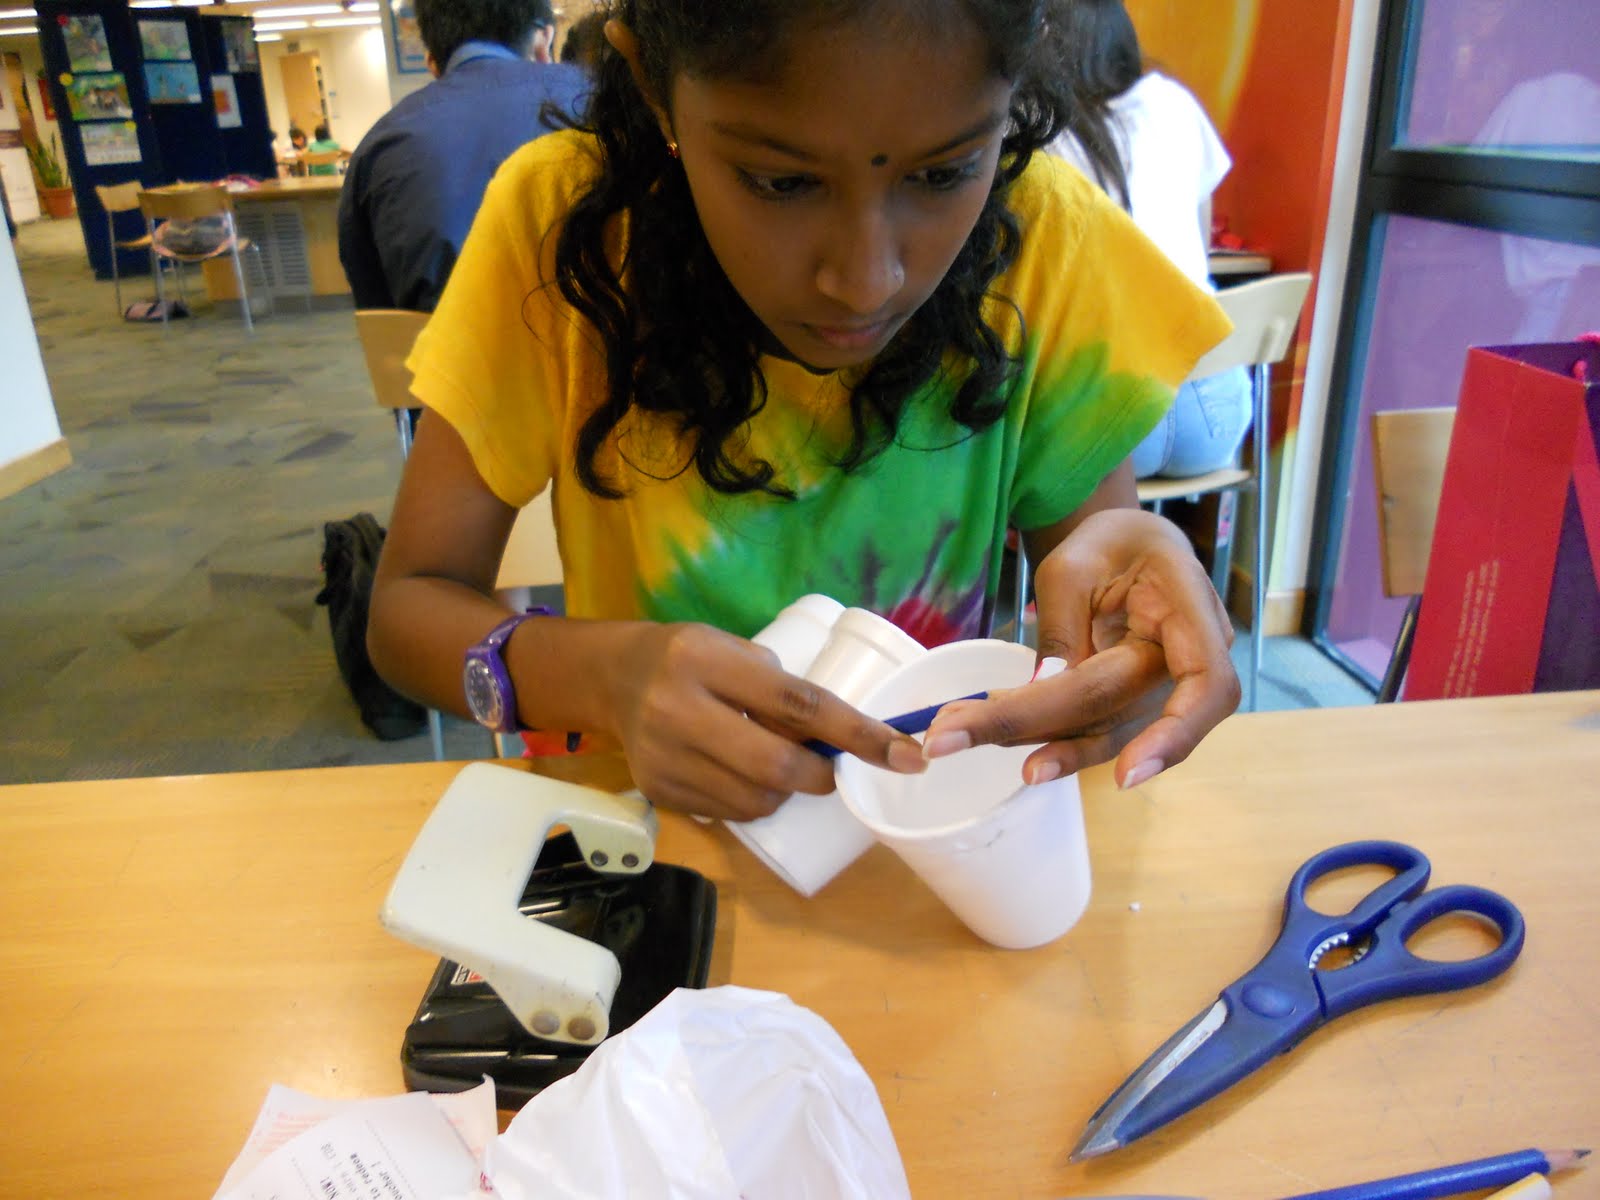
Punch a hole in one of the cups, about 1/2 inch below its rim. Repeat with three of the other cups.
Punch four holes in the fifth cup, about 1/4 inch below the cup's rim and equidistant from each other. (To do this, punch two holes on opposite sides of the cup. Then punch two more holes directly between the original two holes, on either side.)
Step 3:
Use the scissors to cut an additional hole directly in the center of the bottom of the fifth cup. The hole should be about as big as the punched holes.
Step 4:
Slide a straw through the hole in the side of one of the first four cups. Fold over the end of the straw and staple it to the inside of the cup to hold it in place.
Step 5:
Slide the rest of the straw through two of the holes in the fifth cup, and then through the hole in another of the first four cups. Bend the end of the straw and staple it to the inside of the cup, making sure that the two end cups face in opposite directions
Step 6:
Repeat Steps 4 and 5, using the remaining two cups. Make sure that all of the cups are facing in the same direction (clockwise or counterclockwise).
This is how it should look like !
A little Adjustments ...(for pictures above and below).....
Step 7:
Push the pencil up through the hole in the center cup, eraser-side up. Then press a pushpin into the intersecting area of the two straws and jam it into the eraser as far as it will go.
This would be how it should look like ...
Step 8:
Make a mark on one of the cups. You can use this mark to measure how quickly your anemometer is spinning. By counting how times the marked cup makes a complete circle, you can tell how many revolutions your anemometer has made.Then , you...DECORATE IT !
Marking a big ,blue spot...
Meena very engrossed in the decorating..shh...don't disturb...
Using Blue-tack to secure it...
And there ! Our very own Anemometer ! Yippee !!!


I’m impressed!! Really informative blog post here my friend I just wanted to comment & say keep up the quality work.
ReplyDeleteSound Level Meter